- Help
- Introduction
Getting Started
In this guide, you will learn
- Your first steps in your Spark school
- How to navigate
- How to find help if needed
First Steps
- Terms: Define the academic year for your classrooms and assignments. Go to School → Terms (under Admin in Microschool) and click +Add New Term.
- Students: Add students to your school so they can access their Student Portals with assignments and activities. Navigate to Students (under Teacher in Microschool), click +Add New Student, and complete the form.
- Subjects: Organize assignments, grade reports, and transcripts by subject. Go to Subjects (under Teacher in Microschool), click +Add New Subject, and fill out the details.
- Classrooms: Group students and teachers. Navigate to Classrooms/Pods (under Teacher in Microschool), click +Add New Classroom/Pod, and assign students. You can edit rosters anytime.
Once these areas are set up, you can create assignments, activities, and school events. Students can access everything via their Student Portals. Explore training documents for more details about Spark School Software.
Navigating
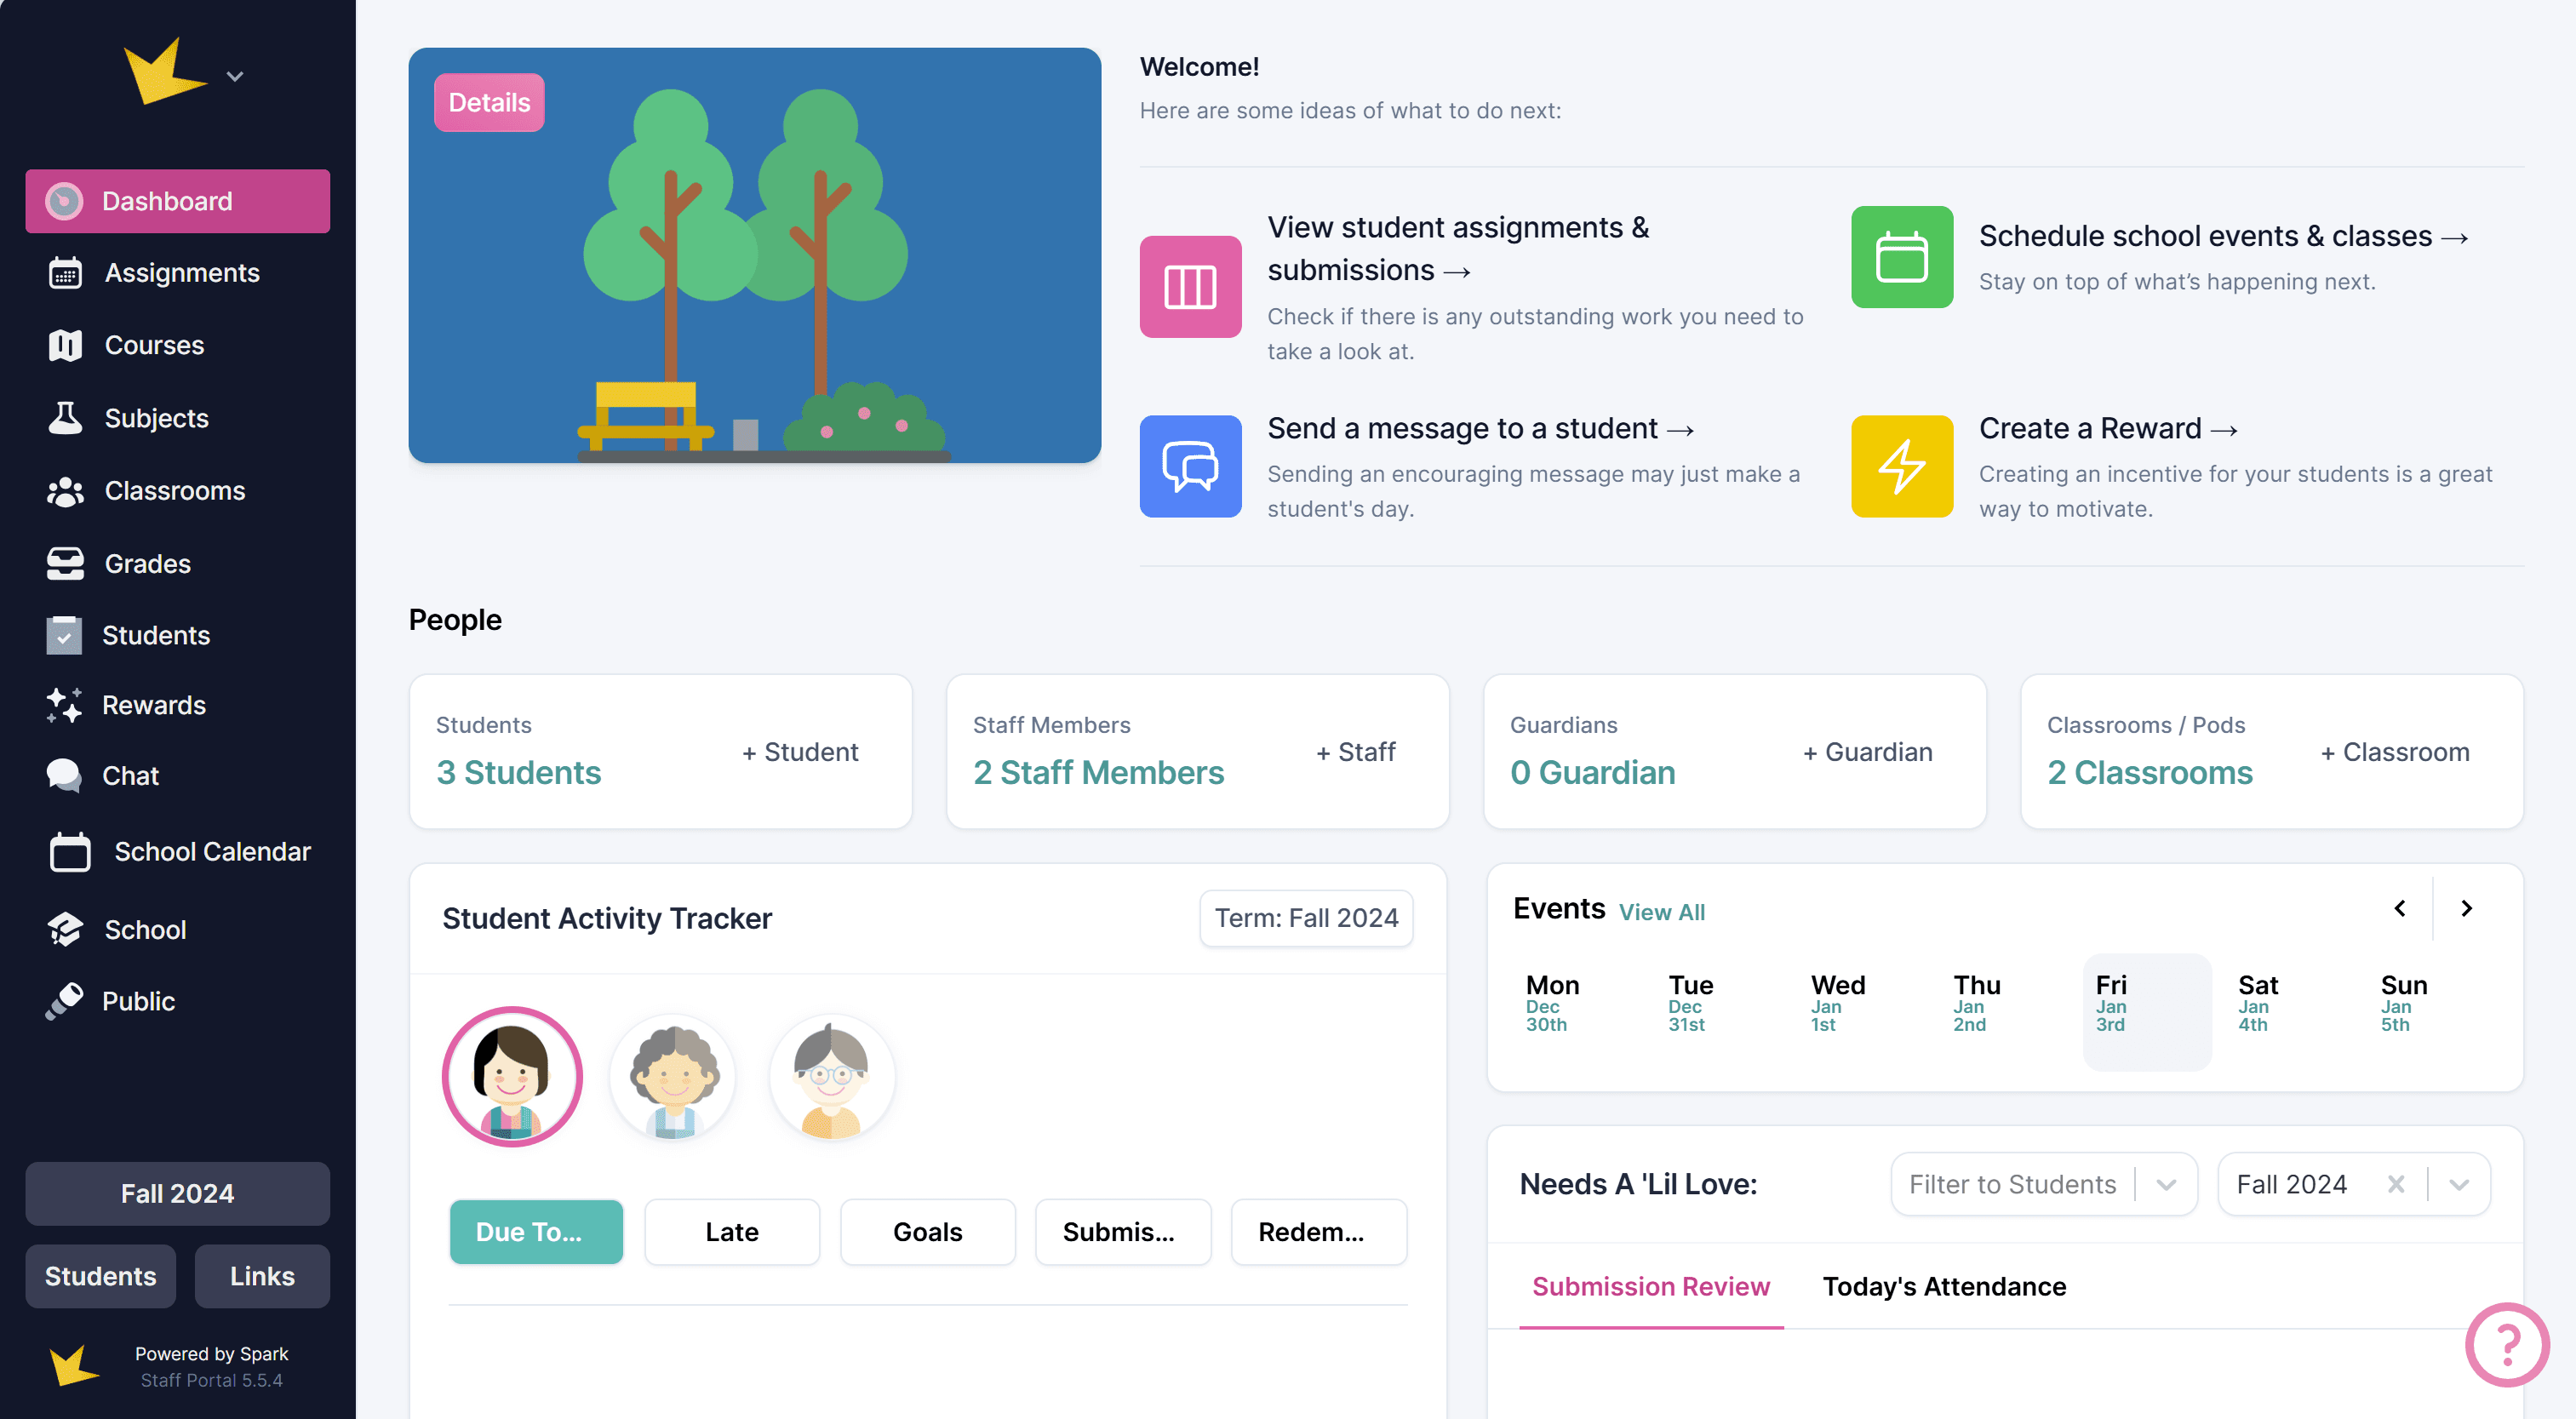
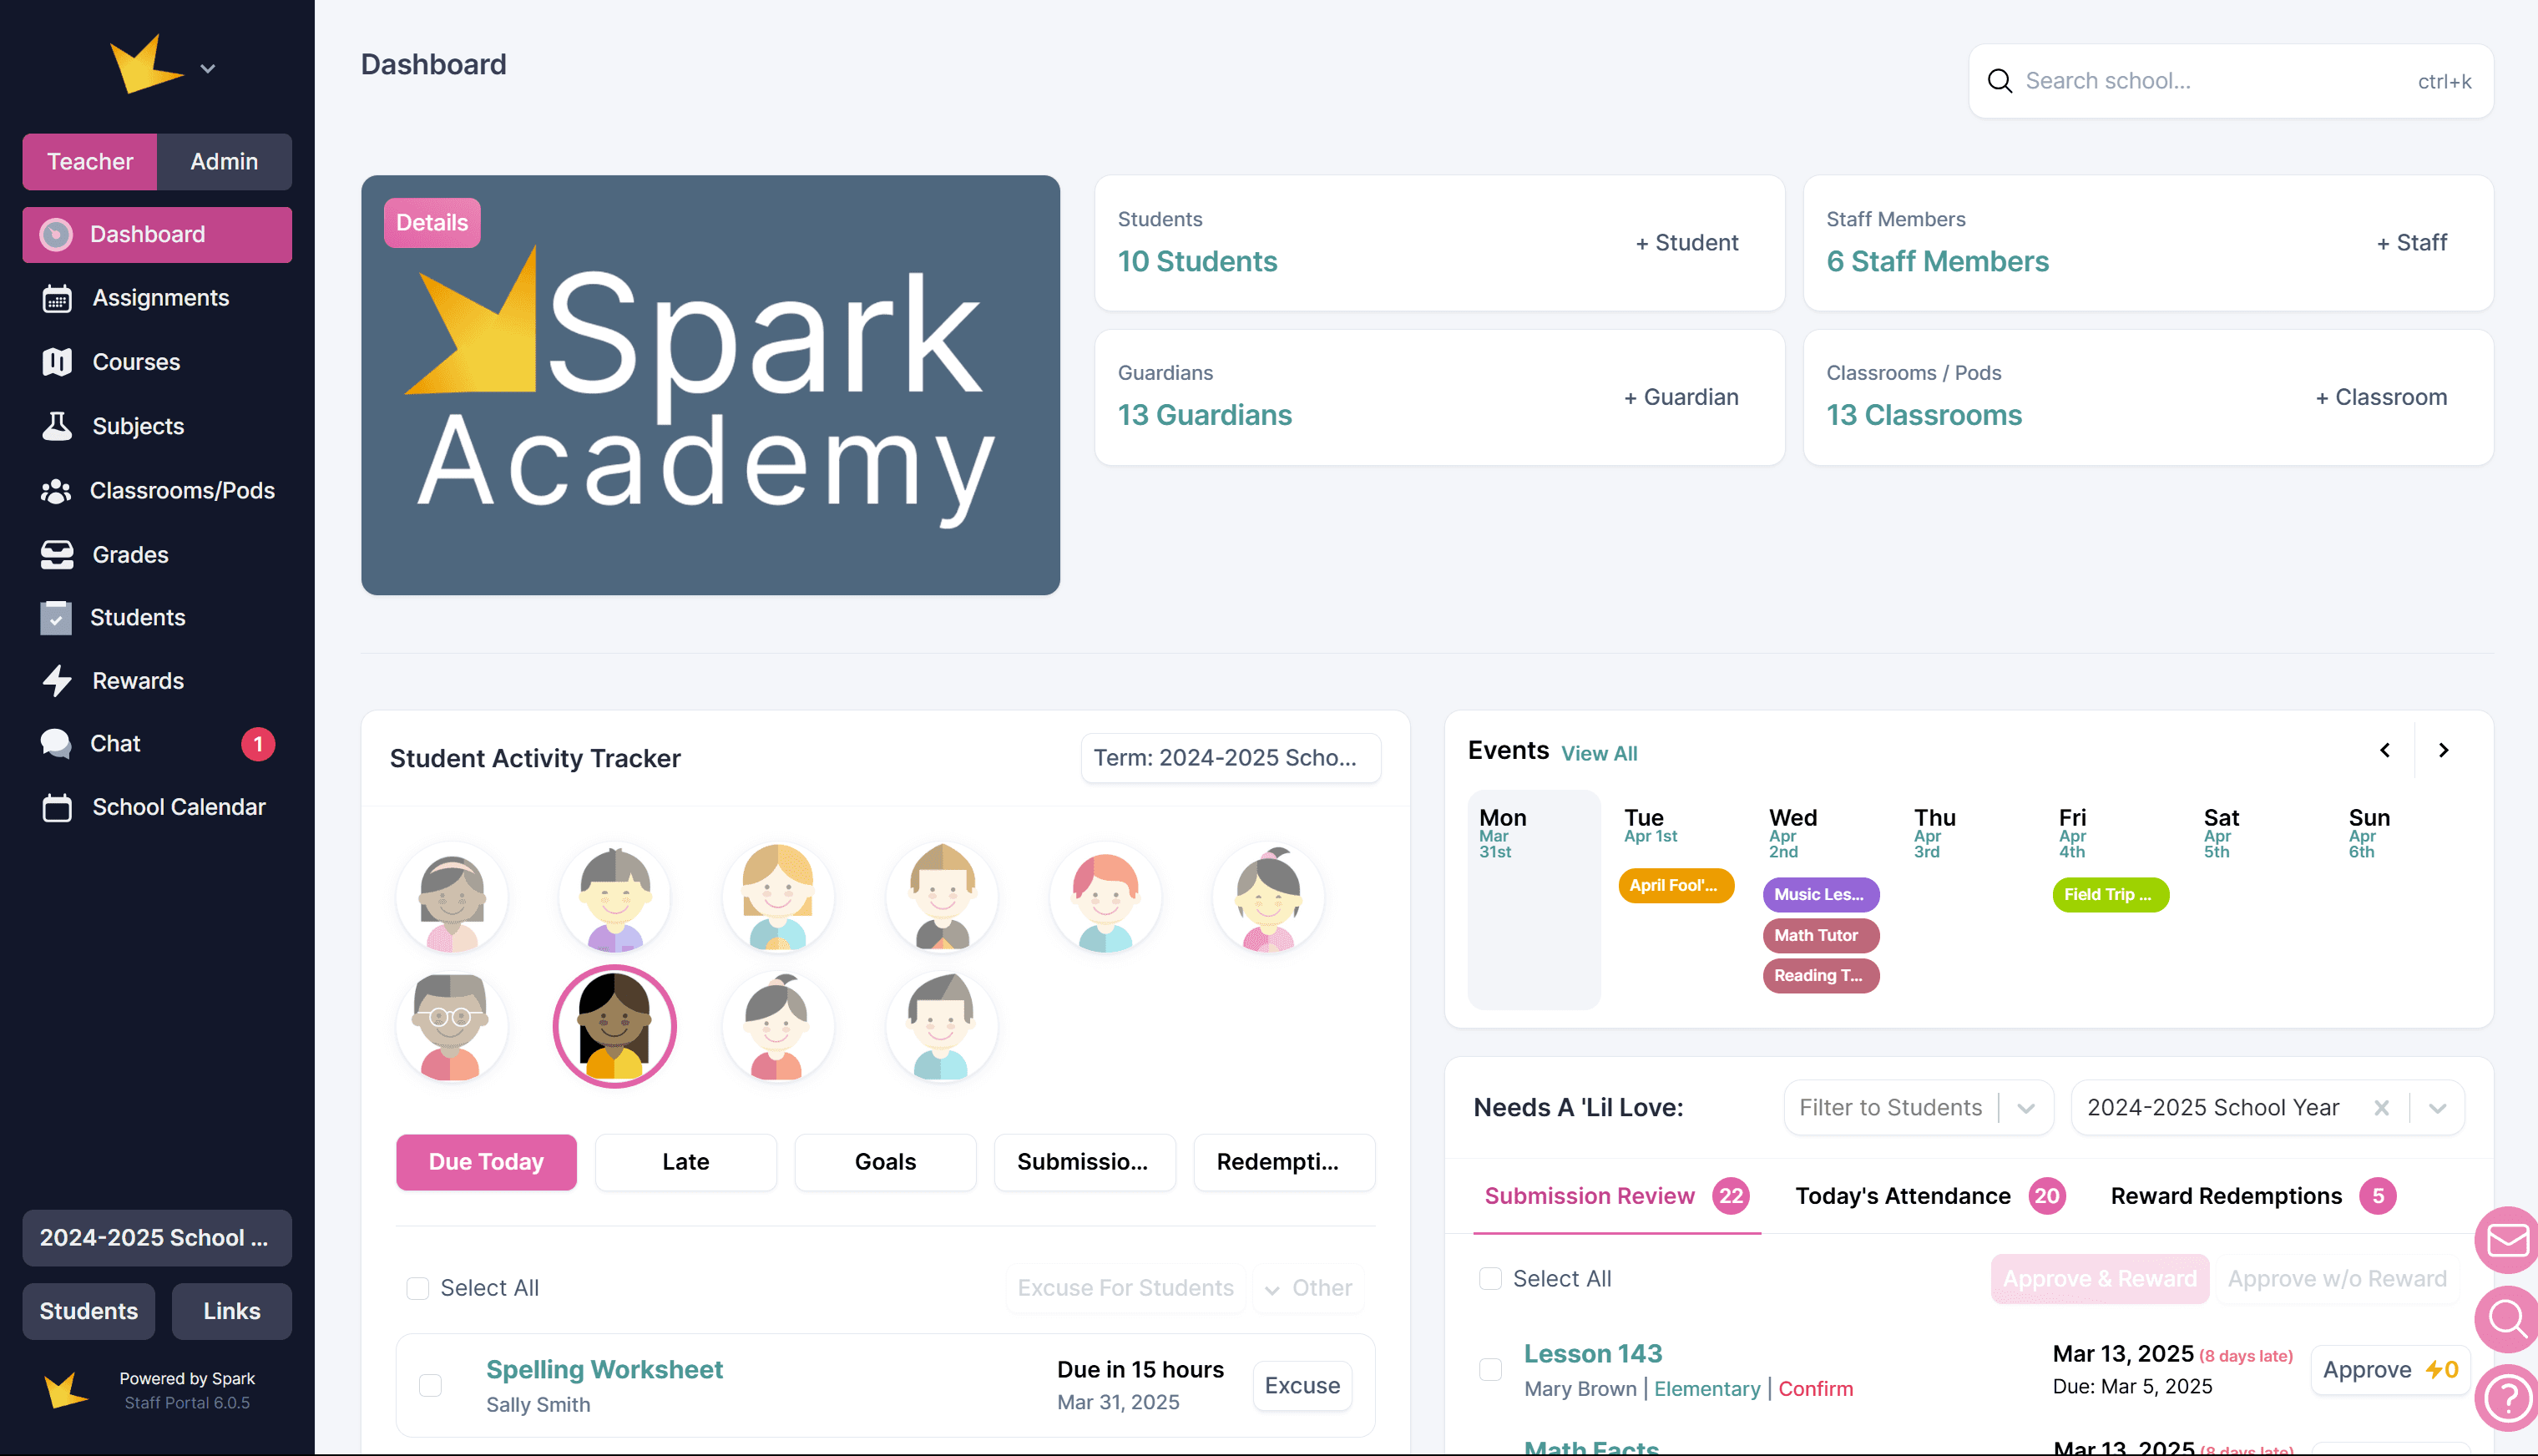
After creating your Spark school, you'll land on your Dashboard, where you can navigate all features.
- Starter and Homeschool versions: A single left navigation menu:
- Microschool version: Two navigation sections:
- Teacher: Tools for managing students and assignments.
- Admin: Tools for school management (e.g., billing, enrollment).
Getting More Help
At the bottom right of any page, you'll find an envelope icon, magnifying glass and question mark:
- Email: Click the envelope icon to send a quick email.
- Search: Click the magnifying glass to quickly find features by typing keywords.
- Help: Click the question mark for FAQs, the Contact Us form, Feature Request site, and Spark's roadmap.
Next Topic:
Core Concepts
Core Concepts