- Help
- Students
Student Portal Access
In this guide, you will learn
- The two methods for granting access to Student Portals and which method is best for your school
- How to grant access using School-Managed Access
- How to grant access using Spark User Access
- Answers to common questions about portal access management
Methods of Granting Portal Access
Students can access their portals using two methods: School-Managed Access and Spark User Access. To determine the best method of granting portal access to students, consider the needs of both the students and the school.
School-managed access is ideal for students who will not be using Spark at any other school, those who require additional support with technology, or for schools with a large student body that need streamlined student management.
Spark user access is better suited for students who are, or may be, part of other Spark schools, as well as for students who prefer to retain control over their username and password.

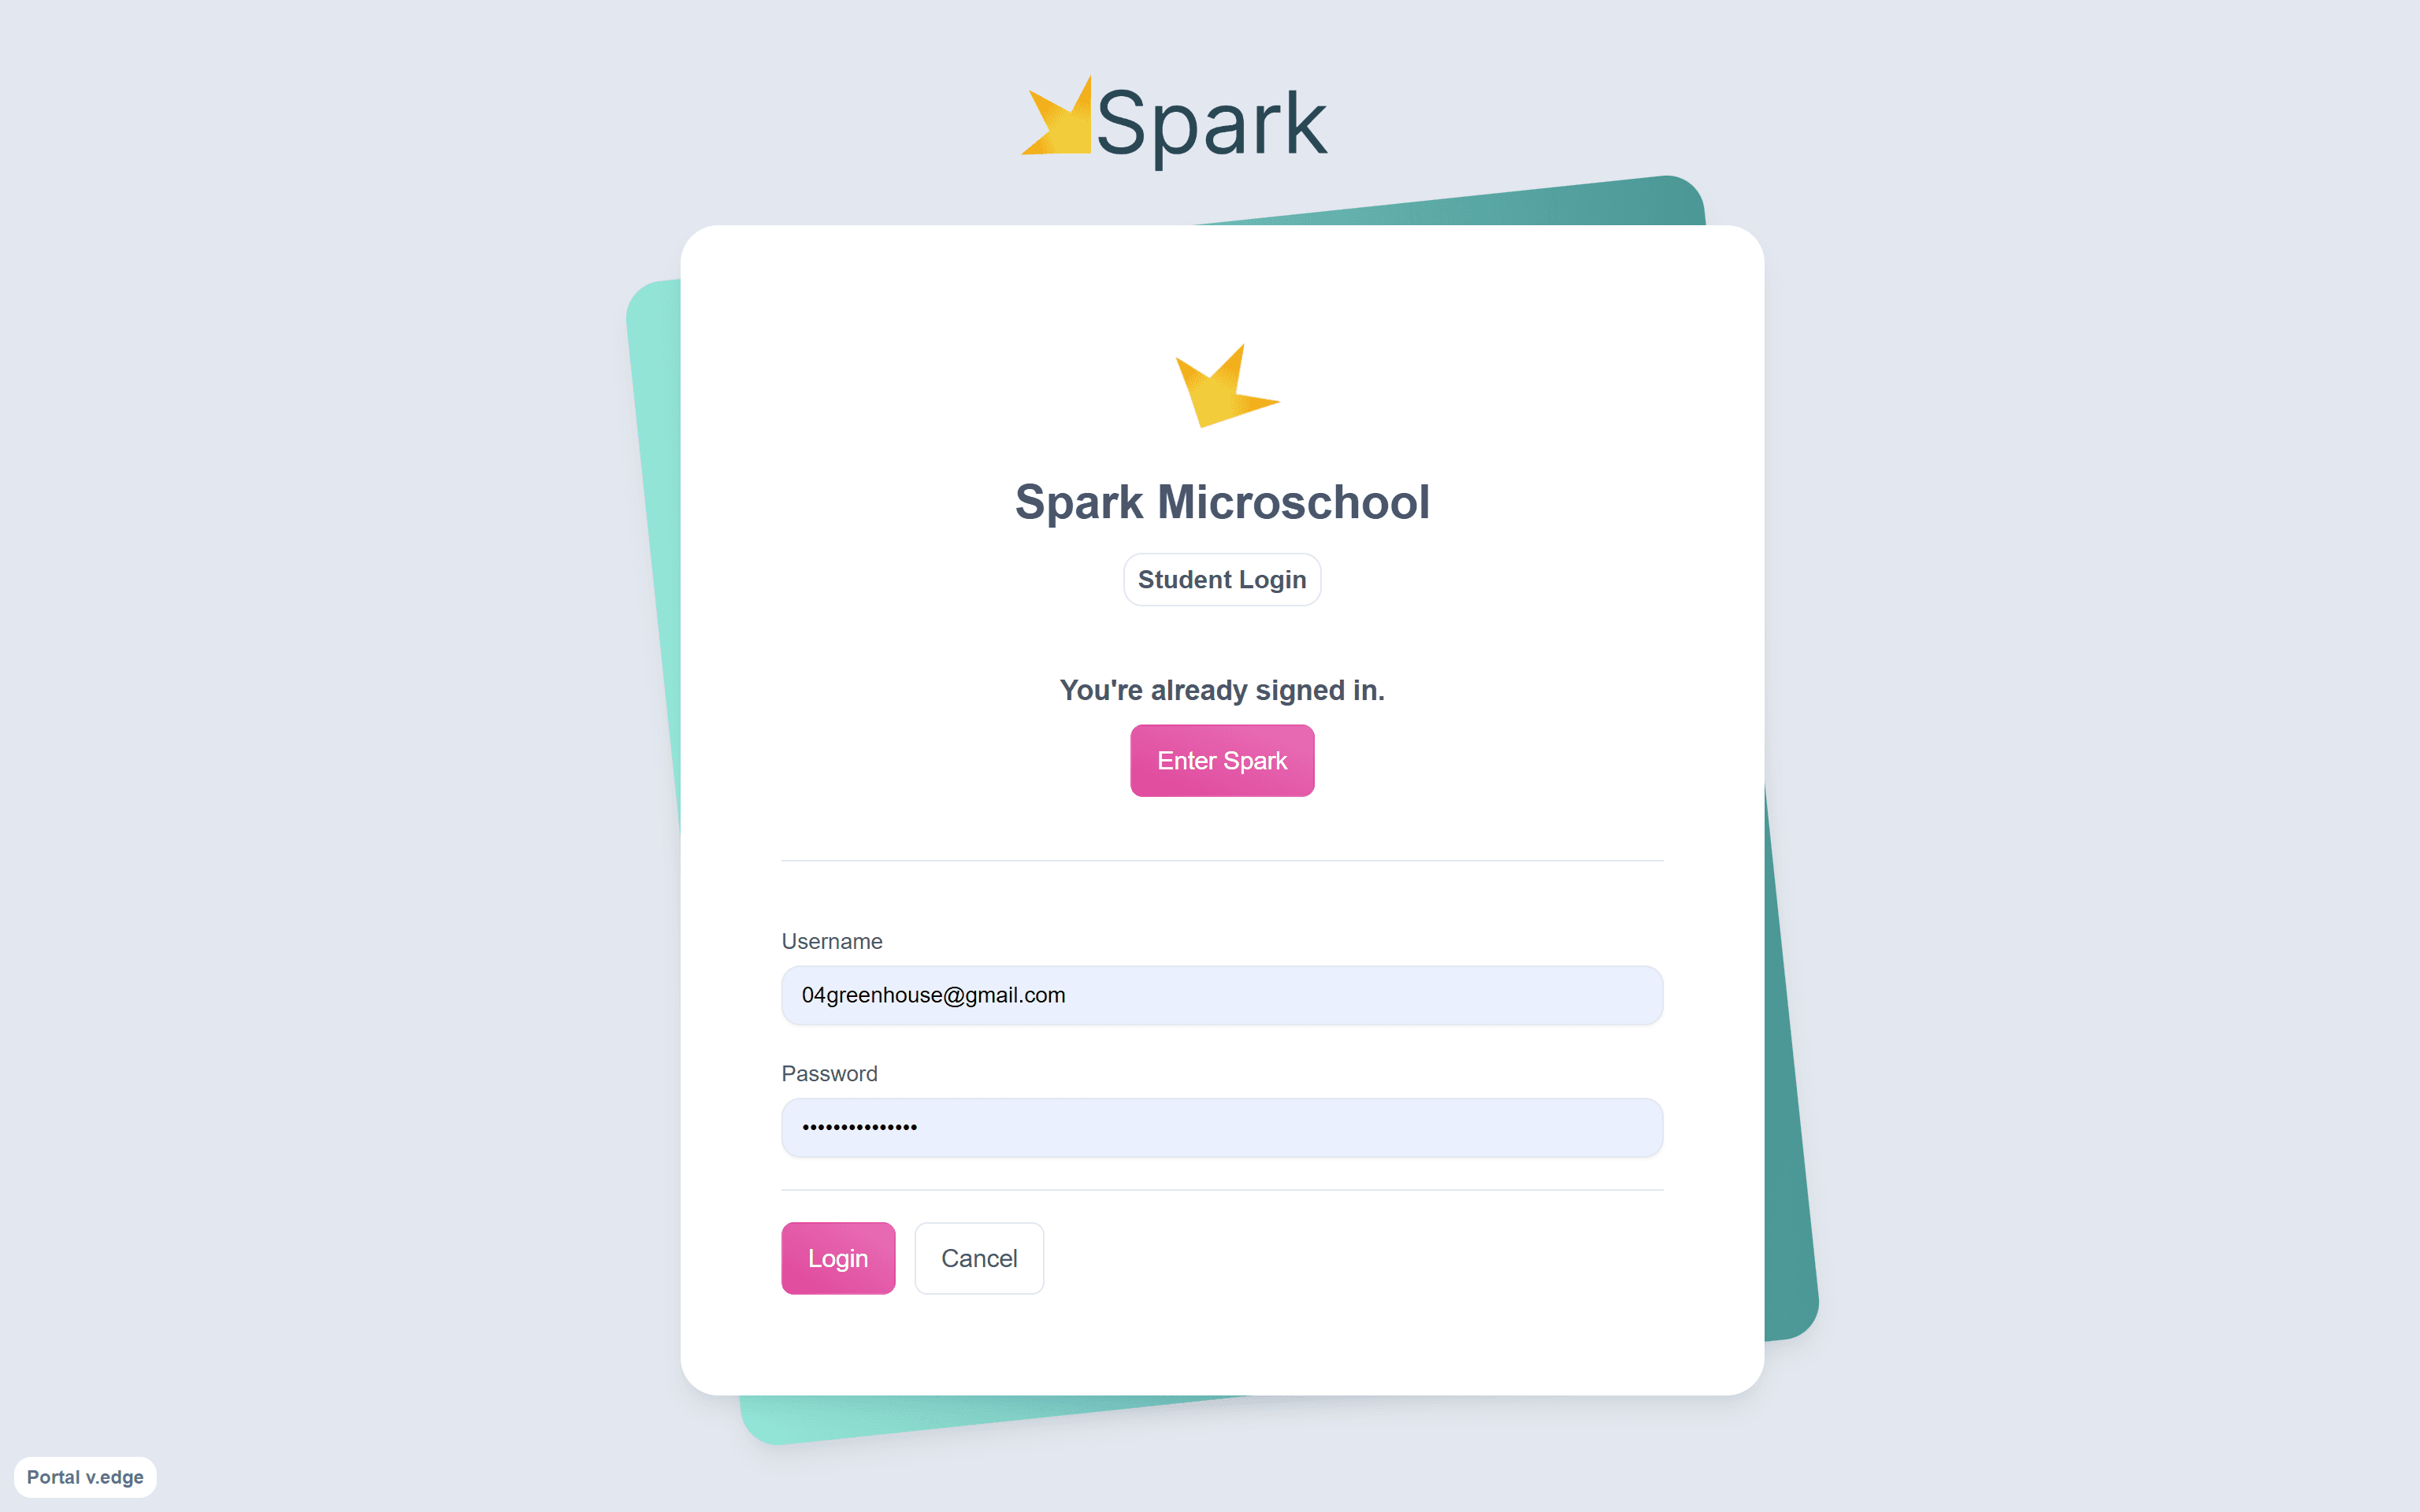
School-Managed Access
This method allows admins or teachers to create and control login credentials. You will have control of and access to this information.
- Go to the student's profile and navigate to the Portal Access section.
- Locate the School-Managed Access section.
- Enter the desired username and password, then click Save.
- Send the login link to the student or guardian by clicking Go to Student Login, copying the link, and sharing it. Ensure the student or guardian has the username and password to access the portal.
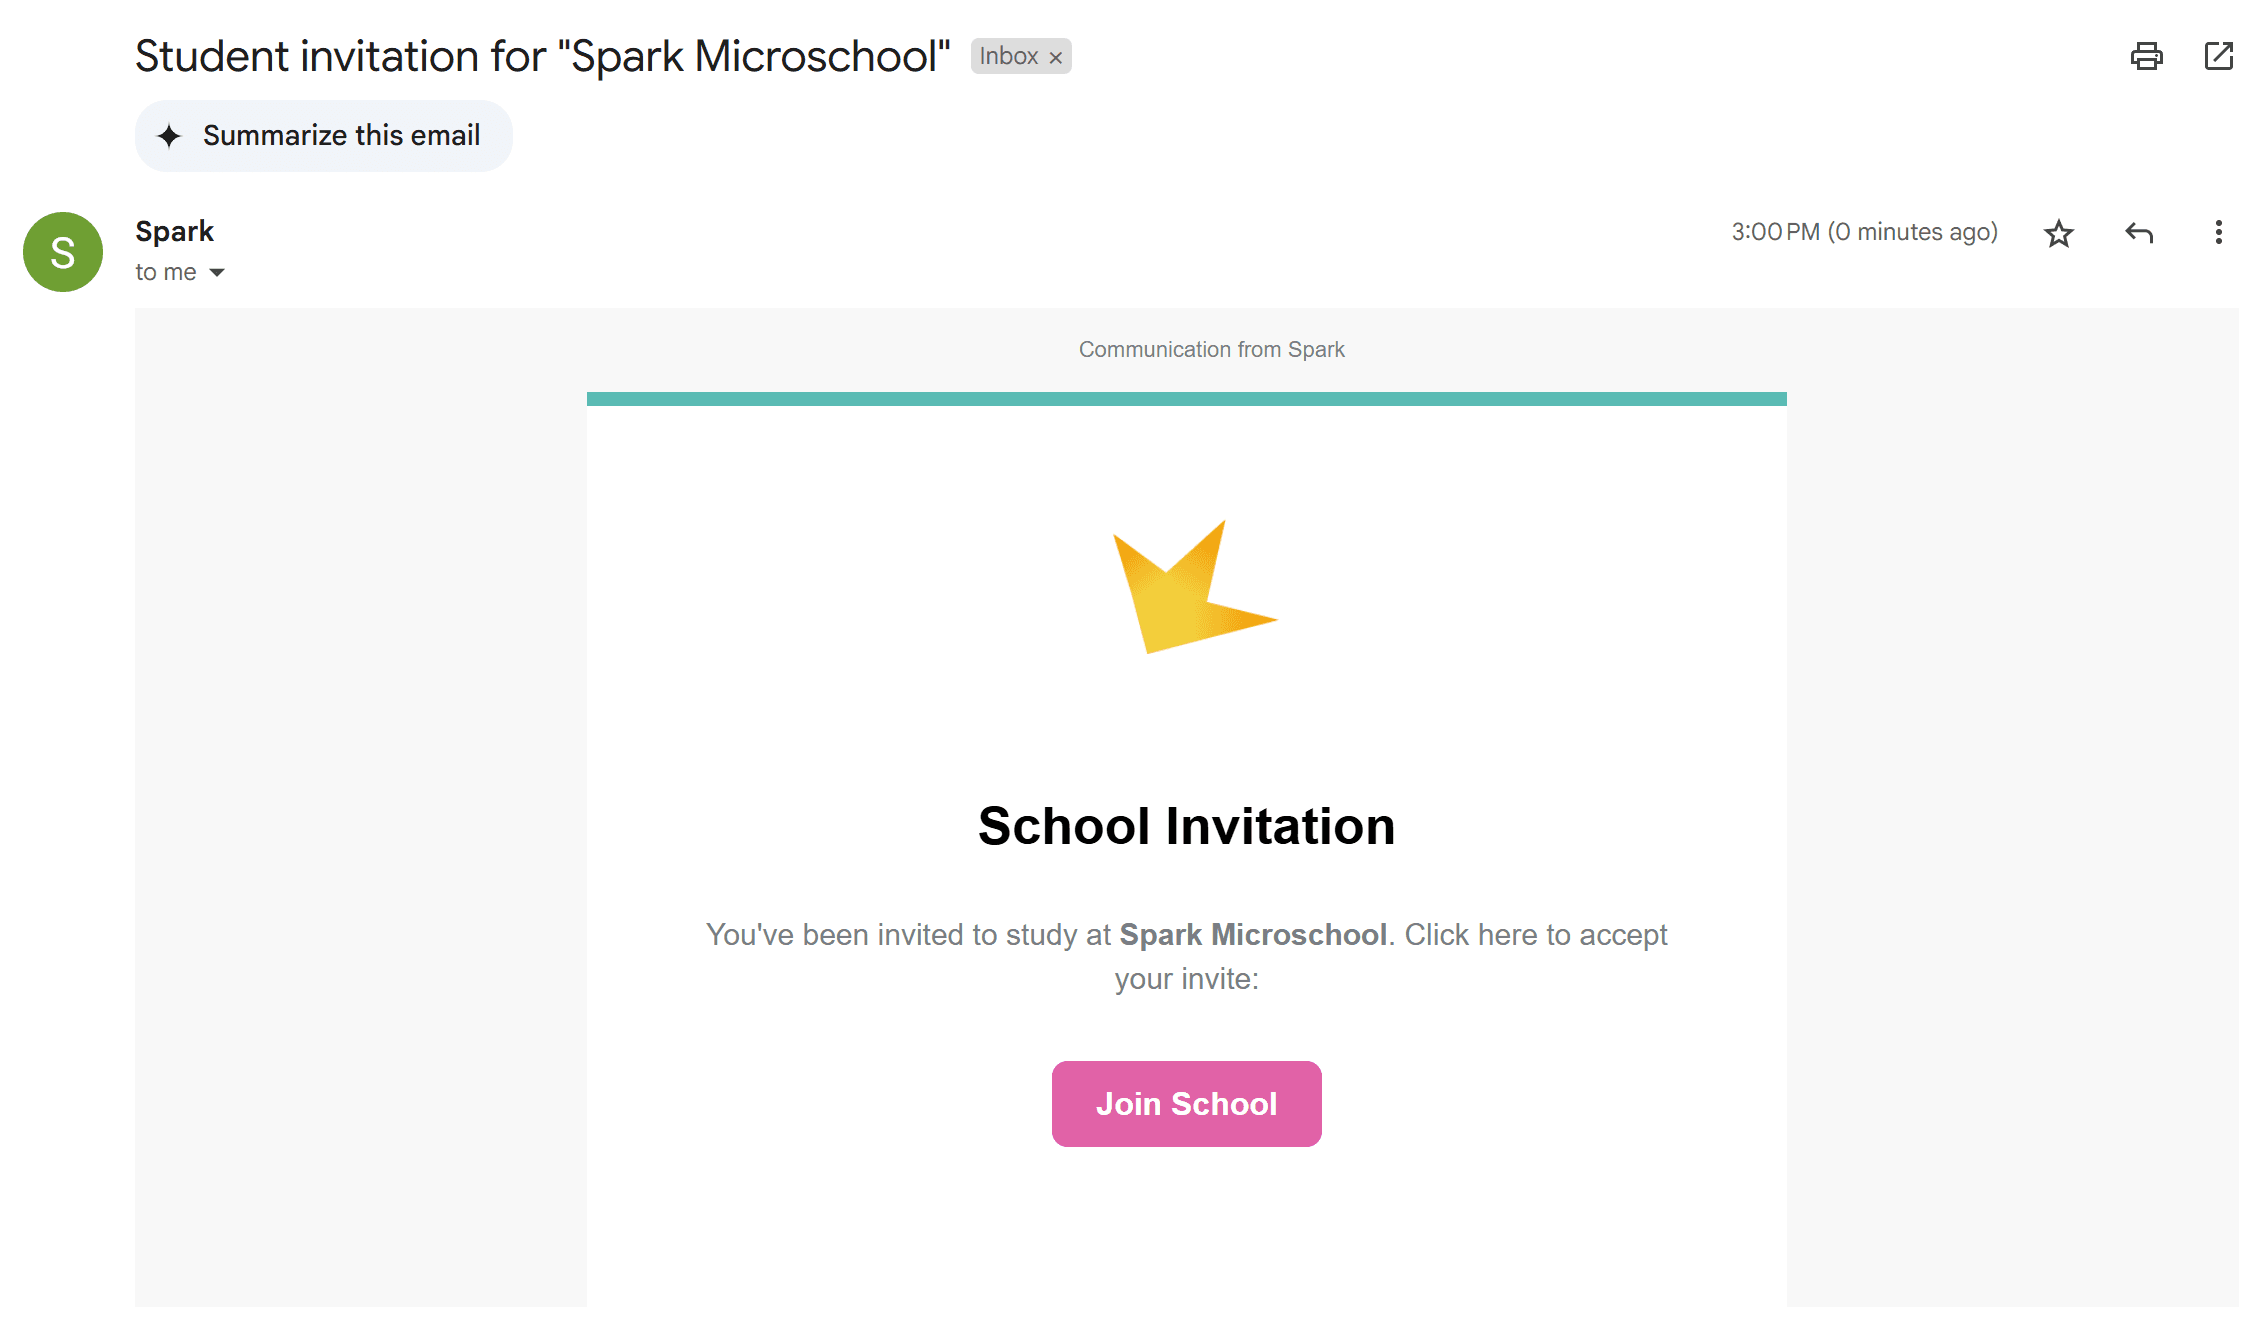
Spark User Access
Creating or linking to an independent Spark User account gives more control to the student. Admins send an invitation to a provided email or username. Students must accept the invitation, create a password, and log in.
- Go to the student's profile and navigate to the Portal Access section.
- Locate the Spark User Access section.
- Choose whether to invite the student to log in using an email address or a username (email is the recommended and simplest option).
- Enter the selected email or username.
- Decide whether to send the invite email immediately or later.
- Click Save.
- After sending the invitation, instruct the student or guardian to check their email and accept the invitation. They will be directed to a login screen pre-filled with the email address. The student can then create a password and access their portal.
Onboarding Guardians and Students
To help families understand Spark and how to access their portal, share the following documents, or use the Custom Email template, "Welcome/Onboarding for Guardians."
Resources for welcoming and onboarding families
Common Questions
My student has not received a portal invitation.
Double-check that you sent the invitation email in the student's Portal Access tab.
- For School-Managed Access, resend the link by clicking Go to Student Login.
- For Spark User Access, use the Send Invite Email option, and check invitation status on the Portal Access page.
- If the student still cannot see the email, ask them to check the spam folder in their email.
Do students need their own email?
Students do not need their own email—guardian emails can be used.
Do I have to give student portal access?
You do not need to give students portal access in order to view their portal as a teacher. To view any student's portal, click the Students field at the bottom of the left navigation bar, find the student, and click View As Student.